
Last updated: October 29, 2026
Quick Answer: How to seal air leaks in a house starts with the biggest openings first, and a typical DIY pass can close the highest-value leaks in about 1 afternoon. Air sealing is the job of finding the small gaps that let conditioned air escape and outdoor air sneak in, then closing those gaps with the right material for the opening. In many houses, the fastest wins come from caulk, weatherstripping, expanding foam, a door sweep, and sealing the attic hatch, but the best order depends on where the air loss is happening.
If a house feels drafty, the problem is usually not one giant hole. It is a dozen smaller ones: gaps at trim, leaky top plates, plumbing penetrations, attic bypasses, and worn seals around doors. The fix is not to smother the whole house in one product. The fix is to use caulk on small cracks, foam on larger stationary gaps, weatherstripping on moving parts, and a door sweep where the bottom of a door misses the threshold.
This guide focuses on the highest-return leak locations first, room by room, so the work pays off before the day runs long. It fits the topic How to seal air leaks in a house, and it belongs alongside broader home energy improvements, not as a substitute for insulation or HVAC work.
Start with the leaks that waste the most air
The best place to begin is often the attic, then exterior doors, then plumbing and wiring penetrations in the rooms below. That order usually matters more than the brand of sealant, because air rises and escapes near the top of the house first.
Gather a flashlight, painter’s tape, a caulking gun, acrylic-latex caulk, polyurethane or silicone caulk for the spots that need it, low-expansion expanding foam, weatherstripping, a door sweep, a utility knife, rags, and a step stool. If you have a can of smoke pencils or a thin tissue, they can help you spot moving air, but you do not need special gear to begin.
Look for these common signs before you seal anything:
- Dusty streaks around trim or attic openings
- A cold draft near baseboards or outlets on outside walls
- Light visible around a door edge
- A loose attic hatch that rattles or has no gasket
- Gaps where pipes, ducts, or cables pass through ceilings and walls
The point is to target the openings that connect indoors to unconditioned spaces. A 1/4-inch gap along a top plate can matter more than a tiny crack in painted trim. Small leaks add up when they appear in many places.
What not to start with
Do not start by sealing every window frame in the house. Window frames matter, but they are rarely the first or biggest air path in a typical house. If you spend an afternoon on the wrong openings, you keep the drafty rooms and lose the easy savings.
Do not fill every gap with foam. Expanding foam can bow trim, crack around delicate materials, and make future repairs harder. Use it where the gap is deeper and stationary, not where a moving part needs to keep moving.
How do I find air leaks before I seal them?
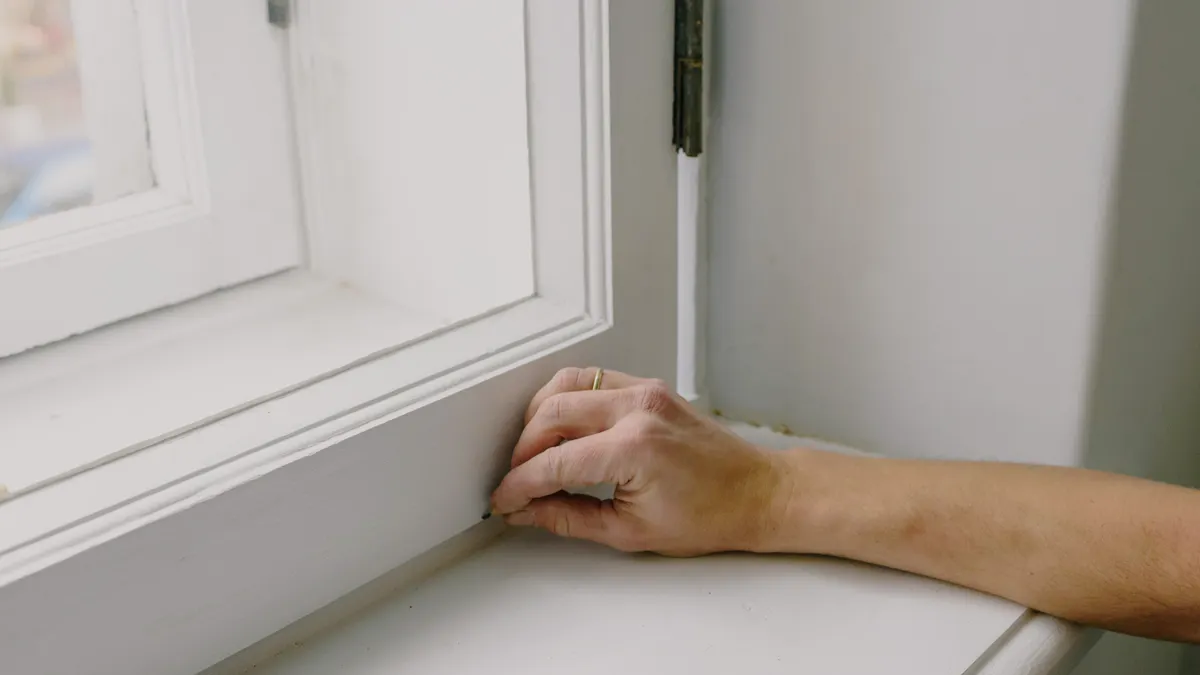
You find air leaks by tracing the house from top to bottom and checking the places where different materials meet. Start on a cool or windy day, close exterior doors and windows, and use your hand, a tissue, or a smoke source near suspicious edges.
Work through the house in this order:
- Check the attic hatch or pull-down stair first. Feel around the perimeter and look for daylight, torn weatherstripping, or loose latches. If the hatch has no seal, that is a common source of leakage.
- Inspect the attic floor penetrations. Look around plumbing stacks, bath fan housings, recessed lights, electrical boxes, and any wires passing through drywall. These are classic attic bypasses.
- Move to exterior doors. Run your hand around the jamb, especially the hinge side, latch side, and threshold. You should feel a uniform seal all the way around.
- Check baseboards and trim on outside walls. Gaps at the seam between trim and wall, or trim and floor, often point to an open cavity behind them.
- Look at outlets and switch plates on outside walls. Remove the cover plate only if you can do so safely, then note any open gap around the electrical box.
- Inspect utility entries. Pipes, cables, gas lines, and hose bibs often leave ring-shaped openings where the wall was never fully sealed.
- Check the fireplace or flue area only for visible gaps around trim, not the flue itself. If you see damaged flashing or suspect combustion venting problems, stop there and get professional help.
A leak hunt works when you can point to a place and name the material you will use there. A draft you cannot locate is hard to fix well. You want a checklist of openings, not a vague feeling that the house is leaky.
If you want a cleaner method, a home energy audit can map the major leakage areas, but this page is about the do-it-yourself sealing work itself, not the audit process. For more context, see the U.S. Department of Energy’s guidance on home insulation and air sealing and caulking and weatherstripping.
Seal the attic hatch and attic bypasses first
You seal the attic hatch and attic bypasses first because heat and air loss near the attic are often the easiest high-return fixes in a house. These openings connect the conditioned rooms to a space that is usually much colder or hotter than the living area.
Begin with the attic hatch or pull-down stair. Clean the frame with a dry rag, then apply adhesive-backed weatherstripping around the stop so the hatch compresses it when closed. If the hatch panel is thin, add rigid foam board cut to fit the panel and fasten it securely so it stays flat; if you are not sure about load, fastening, or fire clearance, consult a professional and check local code guidance such as the U.S. Department of Energy’s attic hatch sealing advice. Close the hatch and check for a firm, even contact all the way around. If the latch no longer draws the panel tight, adjust the latch or add a better seal.
Then move to the bypasses in the attic floor:
- Seal gaps around plumbing stacks with caulk for small cracks or low-expansion foam for deeper openings.
- Use fire-rated materials where required by local code near chimneys or other hot surfaces.
- Seal around bath fan housings if they are leaky to the attic side, but do not block the fan’s vent path.
- Close open holes around wiring, top plates, and cable penetrations.
The common mistake here is stuffing insulation over a gap and calling it sealed. Insulation slows heat flow, but it does not stop moving air. A gap hidden under insulation can still dump conditioned air into the attic all season.
Use a backer rod before caulk when the joint is deeper than the bead can bridge cleanly. That gives the caulk something to grip and keeps the bead from sinking into the hole. For larger holes, foam can do the rough fill, then you can trim and cover it after it cures; if the hole is near heat sources, wiring, or a place that may need future access, consult a professional first and follow manufacturer instructions.
This is the section where careful work pays twice: you reduce leakage and make the attic less of a heat highway.
How to seal baseboards, trim, and wall gaps room by room
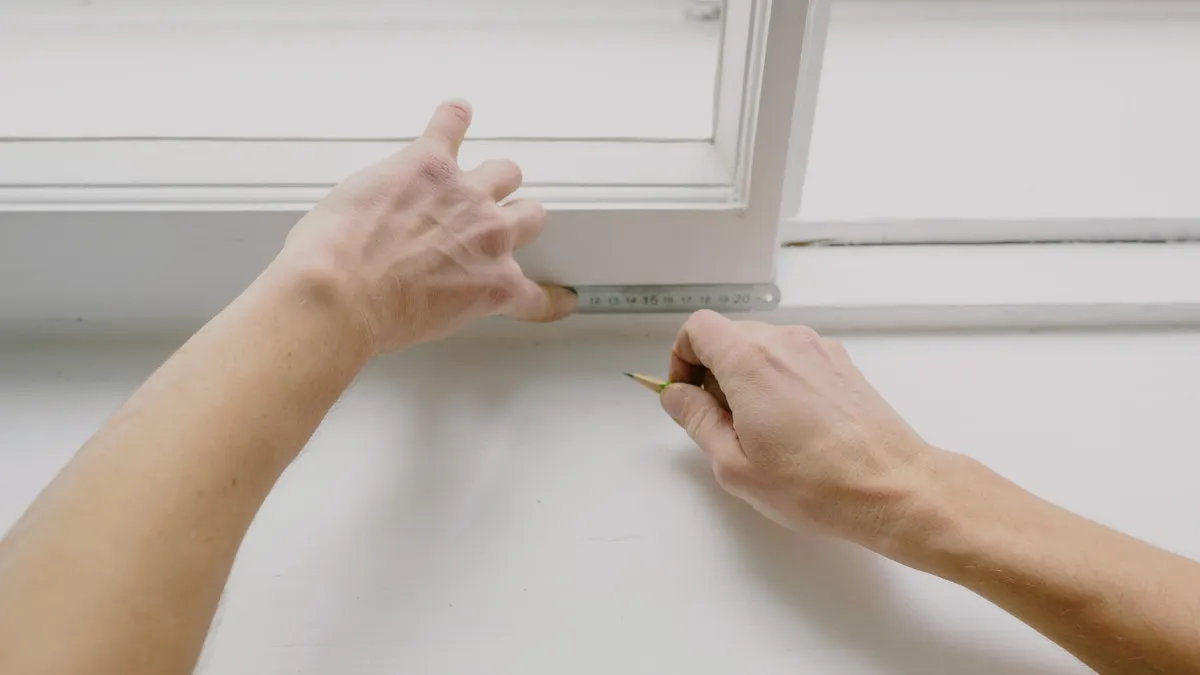
You seal baseboards, trim, and wall gaps by matching the product to the size and movement of the gap. Small fixed cracks get caulk, larger static gaps get foam, and joints that open and close with use need flexible materials, not hard filler.
Work one room at a time so you do not miss the same type of leak on every wall, and keep the sequence moving from cleaning to filling to finishing:
- Clean the gap. Vacuum dust from the seam along trim, floor edges, and pipe penetrations. Caulk sticks better to a clean surface.
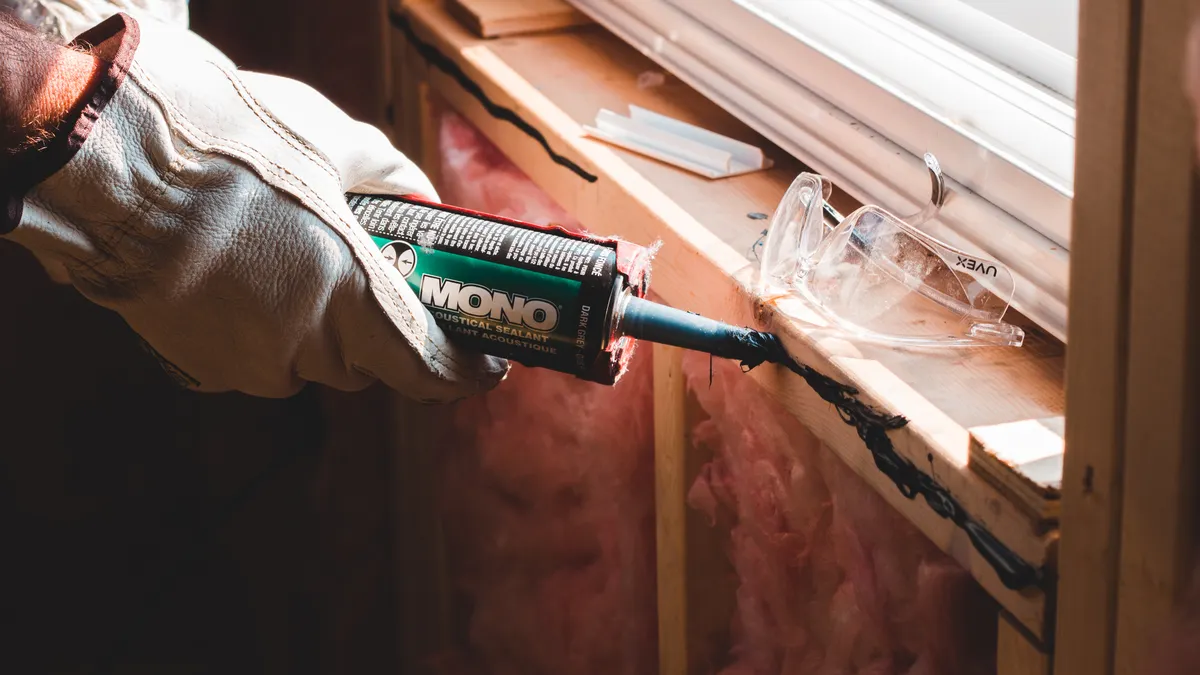
- Choose the right filler. Use acrylic-latex caulk for paintable trim gaps, silicone where water exposure matters, and expanding foam for deeper, hidden voids that do not move.
- Cut the caulk tip small. A 1/8-inch opening is usually enough for trim work. Start with a small opening; you can widen it if the bead needs to be larger.
- Apply a continuous bead. Pull the gun slowly and keep pressure steady so the bead bridges the gap instead of skipping across it.
- Tool the bead. Smooth it with a damp finger or caulk tool within a few minutes so it bonds to both sides and looks finished.
- Trim cured foam. If foam expands beyond the surface, let it cure, then cut it flush with a utility knife. If the foam is close to wiring, electrical boxes, or a place you may need to reopen, consult a professional before trimming or sealing over it.
- Paint or cover as needed. Most acrylic-latex caulk takes paint after curing, which helps the repair disappear.
Outside walls often show the most obvious trim gaps, but not every gap should be sealed shut. Leave weep paths and drainage features alone where a system is designed to shed water. Do not fill anything that looks like a deliberate drain slot.
The biggest mistake in this category is overfilling. A thick bead of caulk on a wide crack shrinks, splits, and looks sloppy. A puff of high-expansion foam in a shallow cavity can distort the finish and create a bigger repair. The right product in the right quantity beats brute force every time, and it keeps How to seal air leaks in a house from turning into avoidable patchwork.
Fix doors with weatherstripping and a door sweep
You fix leaky doors with weatherstripping on the jamb and a door sweep at the bottom. The door itself is not usually the problem; the gap around it is.
Start by closing the door and looking for light around the perimeter. If you can see daylight, the seal is poor. If you cannot, still check for drafts with your hand or a tissue near the latch side, hinge side, and top edge.
For the jamb:
- Remove old, crushed weatherstripping.
- Clean the contact surface.
- Install new foam, silicone, or V-strip weatherstripping that matches the door style.
- Close the door and confirm the latch still engages without force.
For the bottom edge:
- Measure the gap between the bottom of the door and the threshold.
- Install a door sweep that spans the full width of the door.
- Set it so it brushes the threshold lightly, not so hard that it drags.
- Open and close the door several times to make sure it does not bind.
A poor fit here costs more than a little comfort. It can make a solid exterior door behave like a loose screen door in winter. It also invites dust, bugs, and noise.
If the threshold is badly worn or warped, a sweep alone may not solve it. You may need to adjust the threshold height or replace a missing door shoe before the sweep can seal well. Do not layer on extra foam or tape to compensate for a misfit that should be corrected at the hardware.
This is one of the few jobs where a simple fix is often enough. A good door seal should feel nearly invisible when the door closes, and that kind of result is a strong sign your air sealing work is going in the right direction.
What should I use to seal air leaks in a house?
You should use caulk for small stationary gaps, weatherstripping for movable joints, expanding foam for larger stationary voids, and a door sweep for the bottom of exterior doors. The best material depends on the shape of the opening, not just its size.
Use this match-up as a rule of thumb:
- Caulk: around trim, baseboards, small gaps at wiring or plumbing penetrations, and stationary joints under about 1/4 inch
- Weatherstripping: along door and hatch perimeters where one surface presses against another
- Expanding foam: deep gaps around pipes, framing voids, and larger penetrations that will not need regular movement
- Door sweep: the bottom edge of exterior doors
- Backer rod: in deeper joints before caulk, so the sealant forms the right shape
The wrong choice usually fails in one of two ways. Hard filler in a moving joint cracks. Soft filler in a deep cavity sags or disappears into the gap. That means more labor later and a worse seal now.
For materials, pick products made for building sealing, not craft filler. Acrylic-latex caulk is easy to tool and paint. Silicone resists moisture better, but it is less paintable. Low-expansion foam is safer near trim than high-expansion foam, which can push things apart. Those distinctions matter more than brand loyalty, and they are part of how to seal air leaks in a house without creating a repair problem later.
Finish the job without creating new problems
You finish the job by checking your work after the materials cure and by leaving alone any opening that belongs to drainage, combustion, or ventilation. A sealed house should be tighter, not trapped.
After caulk or foam cures, go back through the rooms and repeat the draft check. Feel around the attic hatch, doors, and the repaired penetrations. Open and close doors to confirm nothing binds. Look for any foam that needs trimming or any caulk bead that cracked as it dried.
The trade-off is real: air sealing can make a house tighter, but a very tight house still needs controlled ventilation. That matters most in homes with combustion appliances, attached garages, or moisture problems. If sealing reveals new humidity, stale air, or backdrafting concerns, stop and get professional advice before sealing more.
A few limits are worth stating plainly:
- Do not seal around a flue, chimney, or other hot vent without using the right fire-safe materials and clearances.
- Do not block bathroom fan vents, range hood vents, or dryer vents.
- Do not seal a drainage path that is meant to let water escape.
- Do not use expanding foam where you may need future access to a valve, splice, or junction box.
If you want a broader plan after the major leaks are closed, this work pairs well with the rest of the home energy improvements hub. But the airtightness work comes first, because it removes the easiest drafts before anything else gets blamed.
Common mistakes that cost time and comfort
The most common mistake is sealing the visible crack instead of the hidden path. That leaves the draft in place and wastes an afternoon.
The second mistake is using one product for every gap. That leads to cracked caulk, bowed trim, or a door that will not latch.
The third mistake is sealing without checking the attic hatch and attic bypasses. That misses some of the largest leakage paths in the house.
The fourth mistake is treating air sealing like insulation. They work together, but they are not the same job.
Key takeaways
- Air sealing works best when you start at the attic and move downward.
- Small cracks get caulk; moving joints get weatherstripping; deep static gaps get foam.
- Doors usually need both perimeter seals and a bottom sweep.
- The attic hatch and attic bypasses are often the highest-return places to fix first.
- A tight house still needs safe ventilation and clear vent paths.
Drafted with AI; not yet reviewed by a person.




Leave a Reply