
Last updated: October 22, 2026
Attic insulation installation works best when the attic is air sealed, ventilated correctly, and measured against the right r-value target before any insulation goes in. If those three pieces are wrong, even a thick layer of insulation can underperform. Quick Answer: in many U.S. homes, attic insulation targets fall in the rough range of R-30 to R-60, but a professional should confirm the right target for your climate zone and attic design using local code and the attic’s existing conditions.
Key takeaways
- Air sealing comes before insulation because moving air can carry a lot of heat and moisture through ceiling leaks.
- The right product depends on attic access, joist depth, and whether the space already has insulation.
- Ventilation still matters; insulation should not block soffit vents or bury existing airflow paths.
- Blown-in cellulose is useful for covering irregular spaces, while insulation batts are cleaner where joists are open and regular.
- A careful installer checks depth, restores baffles, and avoids compressing material around fixtures, hatches, and eaves.
Why attic insulation installation starts with air sealing
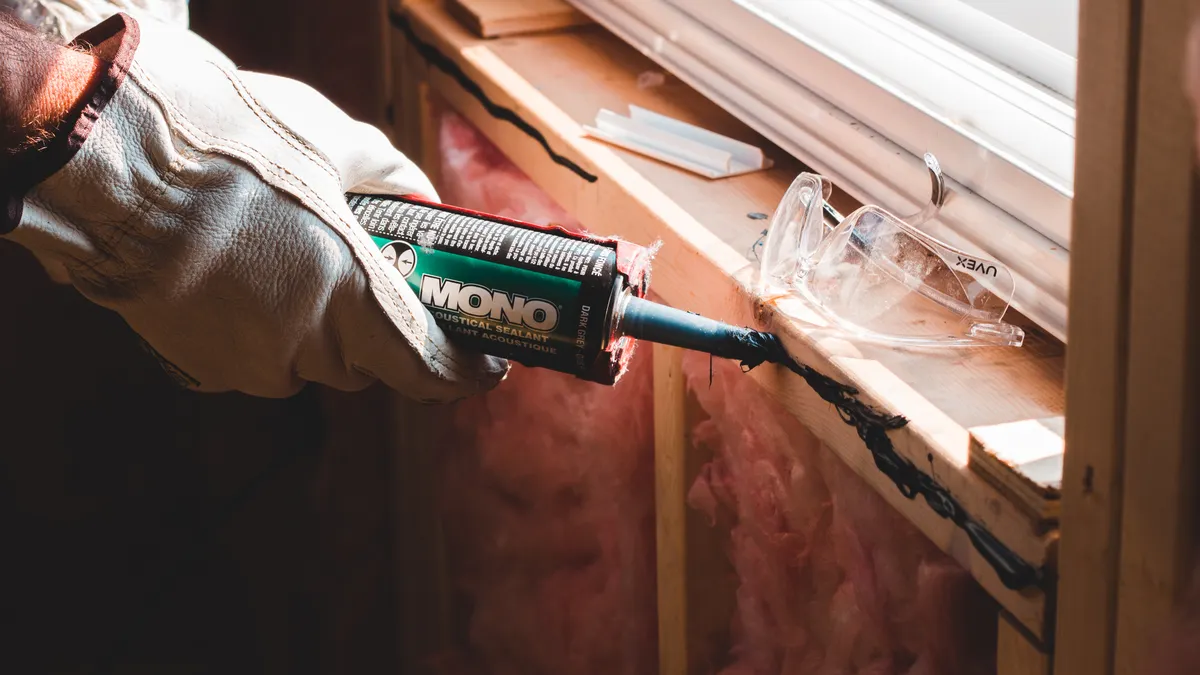
Attic insulation installation starts with air sealing because insulation slows heat flow, but it does not stop air movement through gaps around lights, pipes, wiring, top plates, and the attic hatch. That distinction matters in a real attic, where a 1-inch crack can leak as much comfort as several inches of insulation spread across a large area.
Before any insulation is installed, I would want the ceiling plane tightened with compatible air sealant at the obvious leaks: plumbing chases, wiring holes, duct penetrations, bath fan housings, and framing seams that connect the house to the attic. The goal is simple: reduce the amount of attic air that can move into the living space, and reduce the amount of indoor air that can reach cold attic surfaces and condense there.
This step is often where generic articles go wrong. They talk about adding more insulation as if depth alone solves the problem. It does not. A leaky attic can leave you with cold rooms, ice dam risk in cold climates, and insulation that gets damp near the ceiling plane. In a humid climate, the penalty can show up as moisture problems first and energy waste second.
The practical sequence is: seal, then insulate, then restore ventilation. That order is especially important around recessed fixtures, attic kneewalls, and dropped soffits. If the attic has a pull-down stair, the hatch or stair cover needs attention too, because that opening is a large, obvious bypass. For guidance on the broader efficiency picture, the home energy improvements hub is the right place to start after this page.
How do I know what r-value my attic needs?
Your target r-value depends on your climate zone, roof assembly, and local code, and the right number is usually set by the energy code used in your area. In many U.S. homes, attic targets fall in the rough range of R-30 to R-60, but a professional should confirm the right answer for this attic instead of treating that range as universal.
The better question is: what does this specific attic need to reach a sensible minimum without creating new problems? An underinsulated attic can leave the ceiling surface cold in winter and hot in summer. An overstuffed attic can make it harder to keep ventilation paths open if the work is sloppy. The number alone is not enough; the installation has to fit the attic geometry.
A contractor should be able to translate the target into inches of material for the product being used. That conversion changes by material. Blown-in cellulose, fiberglass batts, and loose-fill fiberglass all have different installed depths for the same thermal performance. Depth markers or rulers on the roof truss or joist bay help show whether the target has been reached evenly.
One common mistake is to assume a layer that looks thick enough is actually enough. Settling happens, especially with some loose-fill products, and uneven distribution leaves low spots over outer walls and corners. Another mistake is burying the insulation hatch in a way that makes it impossible to inspect later. The hatch should be insulated and kept accessible.
If you live in a colder region, ask the installer how the target changes near eaves, over cathedral ceilings, or where old insulation remains in place. Those details affect real-world performance more than a brochure number does.
Which attic insulation material makes sense in your space?
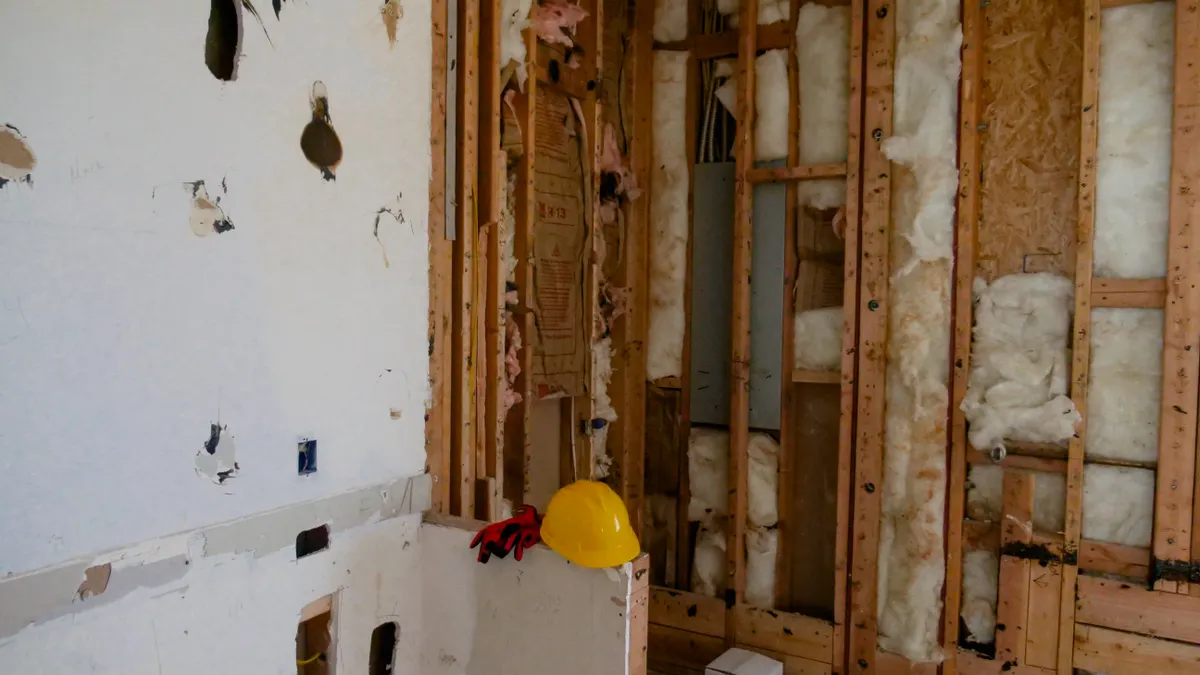
The right attic insulation installation material is the one that fits the attic layout, the access, and the prep work already done. In an open, walkable attic with regular joist bays, insulation batts can be neat and practical. In a crowded or irregular attic, blown-in cellulose often covers gaps more evenly and reaches around obstructions better.
Insulation batts are sheets or rolls that can be cut to fit between joists. They work best when the bays are standard sized and the installer can keep the batts full depth without compressing them. Compression lowers effective performance. Batts are also less forgiving around wiring, pipes, and odd framing because every cut matters.
Blown-in cellulose is often chosen when the attic already has a shallow layer of insulation or when the attic floor has too many interruptions for batts to lie flat. It can fill around pipes and wiring more easily, and it helps cover small irregularities. It still needs a consistent depth, and it still needs the air sealing underneath to do its job well.
A mixture of old and new insulation is common, but it can create hidden issues if the old layer is dirty, damp, or full of bypasses. Old insulation does not automatically need removal. What matters is whether it is dry, level, and compatible with the new plan. Wet insulation should be addressed before anything else. So should any signs of mold, stained roof sheathing, or crushed insulation near the eaves.
One rule I would keep: choose the product that solves the attic’s shape, not the one that merely appears cheapest by the bag. The wrong material can cost more in labor, time, and rework than it saves at the register. For more on product comparisons, the Department of Energy’s insulation guide is a useful reference, and ENERGY STAR’s sealing guidance explains why attic prep matters before the new layer goes in.
The installation sequence that keeps the job from going wrong
The cleanest attic insulation installation follows a specific order, and skipping steps causes most of the bad results. The sequence below is the one that keeps moisture, heat loss, and airflow problems from showing up after the job is finished.
- Inspect the attic floor, roof deck, and eaves for leaks, staining, damaged sheathing, missing baffles, and compressed old insulation. The result should be a clear map of what must be fixed before covering anything.
- Seal obvious ceiling-plane gaps with air sealant or a compatible seal system around penetrations, framing joints, and the attic hatch. The attic should stop looking like a pass-through for house air.
- Install or restore vent baffles at every soffit bay that needs airflow. These channels protect the vent path so insulation does not block it.
- Set depth markers or reference lines if blown-in insulation is being added, or measure joist depth if batts are going in. This gives a visible target instead of guessing.
- Place the insulation evenly from the farthest eaves back toward the attic access, keeping it off recessed lights and respecting any clearance the fixture or manufacturer requires. The finished layer should look even, not mounded in one area and thin in another.
- Insulate and weatherstrip the attic hatch or stair cover, then confirm that it still opens and closes easily. A well-insulated attic can still leak badly through a neglected access point.
That sequence matters because each step protects the next one. Air sealing is harder after insulation is in place. Baffles are harder to install after loose-fill covers the soffits. Access covers are often forgotten entirely, even though they can undo a lot of the work.
A solid crew should also check for ductwork in the attic. Leaky ducts change the math, because insulated ducts that leak air still waste conditioned air before it reaches the rooms below. The EPA’s indoor air and moisture guidance is helpful here, especially where hidden leaks and condensation can turn a simple insulation job into a bigger repair.
What does good attic prep look like before the crew starts?
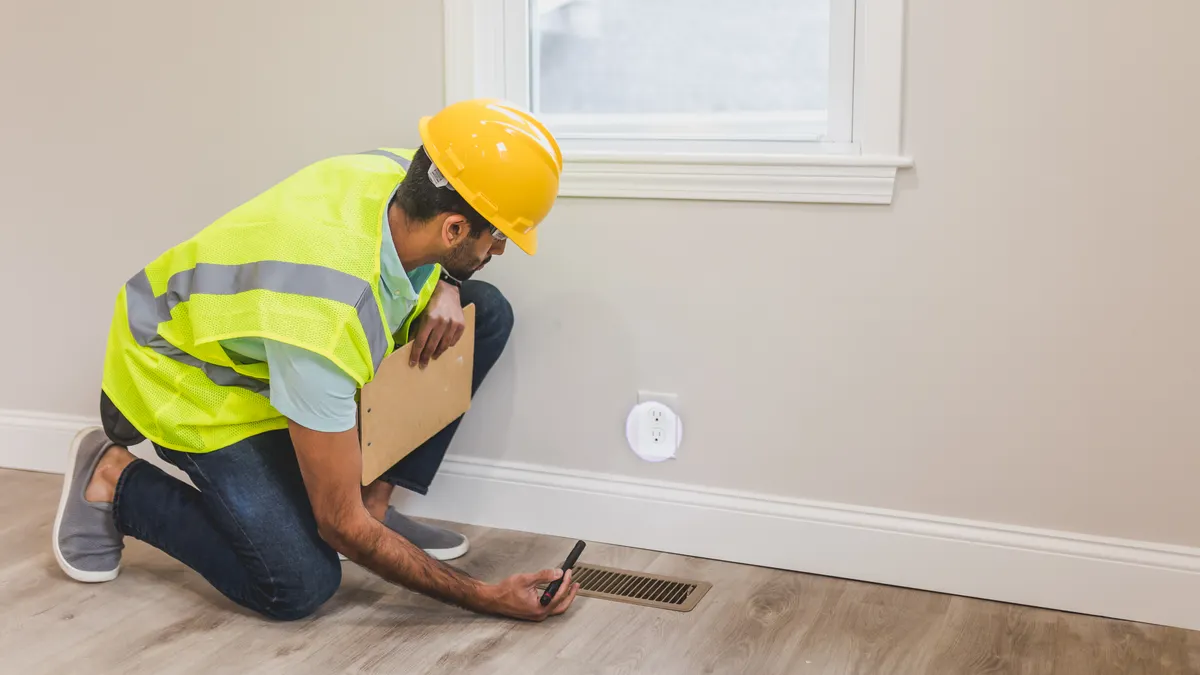
Good attic prep means the space is ready for insulation, not just empty enough to walk in. The difference shows up in the first hour of the job. A properly prepared attic has a clear access path, safe footing, existing debris removed, and no active leaks from the roof or mechanical systems.
I would expect the installer to look at a few specific things before bringing in material: the condition of the attic hatch, the depth of old insulation, the position of electrical boxes and recessed lights, the state of soffit vents, and whether bath fans or other ducts terminate properly. If a bath fan dumps into the attic instead of outdoors, that is not a normal insulation task. It has to be corrected first.
In some attics, prep also includes protecting storage items and identifying any areas where the floor cannot safely support weight. A joist bay above a garage or over a weak ceiling section may require caution. The crew should know where to step and where not to step. If they do not, the risk is not abstract; ceiling damage is common when people move too fast in a cramped space.
This is also where homeowners should ask about debris, old vermin contamination, or moisture damage. Insulation should not be buried over wet, compressed, or contaminated material without a plan. Sometimes removal is the right call, but removal is not automatically needed in every attic. The decision should be based on condition, not habit.
A good prep conversation usually takes a few minutes and saves a lot of regret. If the contractor shrugs at visible mold, ignores soffit vents, or treats the attic hatch as optional, I would treat that as a warning sign and consult a professional before work continues.
Should I install attic insulation myself or hire a pro?
DIY can work for a simple attic, but a pro is the safer choice when the attic has air leaks, awkward access, or complicated ventilation. The dividing line is less about pride and more about whether the space can be prepared and finished correctly without hidden mistakes.
A capable homeowner can usually handle a small, open attic with standard joists, clear access, and no active moisture problems. Batts are manageable in those conditions if they are cut carefully and laid without gaps. Blown-in cellulose can also be done DIY with rental equipment, but it is easy to miss target depth, leave eaves underfilled, or create a mess around fixtures and wiring.
A professional becomes more valuable when the attic has multiple levels, tight eaves, recessed lights, ductwork, or evidence of old damage. Those details change the work from simple filling to a sequencing job. Air sealing, baffle placement, and coverage around obstructions all have to be right. If the attic is tricky, labor is often more expensive than the material, and bad prep can wipe out the savings.
The downside of hiring out is that you are paying for labor, not just insulation. The upside is fewer do-overs and a more predictable result. The downside of DIY is that the mistakes are hidden once the material goes down. A missed air leak or blocked vent may not show up until the next heating season.
A useful middle path is to hire out the prep and do the simple parts yourself, but only if the contractor is willing to specify what they want done before installation begins. That keeps the work aligned with the actual attic, not a generic checklist.
What a bad attic insulation job looks like
A bad attic insulation job leaves visible clues, and those clues usually point to a missed step rather than a mysterious product problem. Uneven thickness, covered soffit vents, crushed batts, open gaps around pipes, and an attic hatch that feels cold are all warning signs.
The most common failure is blocking ventilation. If soffit vents are buried or baffles are missing, the roof deck can lose the airflow it needs. Another failure is patchy coverage. Thin spots around the perimeter and over top plates usually mean the installer worked fast at the edges, where heat loss is often worst. A third problem is overfilling around recessed lights or other fixtures without respecting clearances. That can create a safety issue and a maintenance headache.
Bad air sealing shows up in a different way. The insulation may look fine on top, but the house still feels drafty because air is escaping through the ceiling plane. That is why the order matters so much. An attic can look finished and still perform poorly if the prep was sloppy.
If I had to name the biggest tell, it would be this: a finished attic that looks untouched around the edges is often not a well-done attic. The edges are where air moves, where vents live, and where the work usually fails.
The right response is not always to tear everything out, but it is not always to leave it alone either. Sometimes a section can be lifted, corrected, and reinstalled. If the job buried vents, ignored obvious leaks, or left major low spots, the installation should be inspected and corrected before the next season exposes the problem.
How much attic insulation do I need?
You need enough insulation to reach the r-value target for your climate and attic design, not just enough to make the floor look covered. In many homes that means a target in the R-30 to R-60 range, but the correct figure depends on local code and the product used. Depth, settling, and edge coverage all matter.
Can I add insulation over old insulation?
Yes, if the old insulation is dry, clean enough, and not hiding moisture problems or blocked vents. The old layer should be checked for compression, damage, and contamination first. If it is wet or severely degraded, adding new material on top can trap the problem instead of fixing it. ENERGY STAR and the Department of Energy both recommend checking for air leaks and moisture issues before covering existing material.
Should I air seal before insulating the attic?
Yes, air sealing should come before insulating the attic. Insulation slows heat transfer, but it does not stop air leaks through penetrations, framing joints, or the attic hatch. Sealing first makes the new insulation work as intended and reduces the chance of moisture moving into the attic through the ceiling plane.
Drafted with AI; not yet reviewed by a person.


Leave a Reply