
Last updated: October 22, 2026
Key Takeaways
- Bring a flashlight, notes or a phone camera, daylight, and access to the attic, basement, utility room, exterior doors, and windows.
- Use the checklist as a step-by-step walk-through, not a vague look-around.
- Air leaks usually hide where one material meets another, not in the middle of a wall.
- Insulation problems show as thin coverage, exposed framing, uneven batts, and surfaces that do not match the rest of the house.
A DIY home energy audit checklist helps you find the obvious problems in a house before you pay for a professional audit. The goal is simple: spot air leaks, missing insulation, bad lighting habits, and equipment settings that waste heat or electricity, then decide what is worth fixing first. A careful homeowner can often do the first pass in 2 to 3 hours, and that makes the checklist a practical screening tool before a more measured home energy audit.
What you need before you start
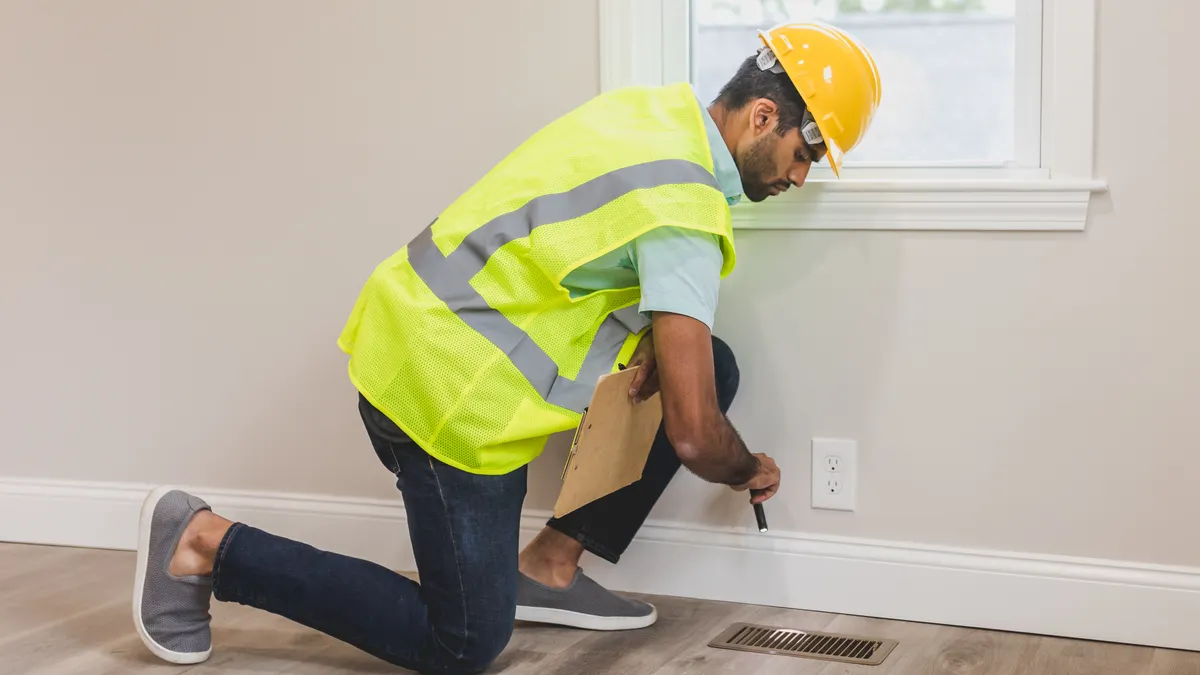
You need a flashlight, a notebook or phone camera, a few hours of daylight, and access to the attic, basement, utility room, exterior doors, and windows. A simple outlet cover remover can help you check receptacle gaps safely, and a door sweep or weatherstripping sample helps you compare what is worn out versus what still seals well.
Start when the house is quiet and comfortable, not during a storm or when the furnace is cycling hard. A cool morning or an evening with little wind makes drafts easier to notice. If you plan to inspect the attic, wear a dust mask, gloves, and sturdy shoes; attic insulation can be dusty, uneven, and hard on knees and ankles.
Keep the checklist in this order: outside shell, then inside rooms, then mechanical equipment. That sequence matters because a loose exterior seal can make a room-by-room problem look bigger than it is. A flashlight and a 10-minute walk around the house will reveal more than a quick glance at a thermostat ever will. Before you move indoors, a quick exterior pass also gives you a baseline for the rest of the audit.
DIY home energy audit checklist: how to do it
A DIY home energy audit checklist works best as a walk-through with one action per stop, not as a vague “look around” exercise. Follow these steps in order so you can separate easy fixes from issues that need a contractor.
- Walk the exterior and look for gaps at obvious joints. Check where siding meets trim, where utility lines enter, around vents, and at hose bibs. You should see caulk cracks, missing sealant, or open edges if a joint is leaking. Mark each spot with painter’s tape or a note so you do not lose it later.
- Test exterior doors for light, air, and contact. Close each door on a strip of paper at several points along the frame. If the paper slides out with almost no resistance, the seal is weak. Look at the door sweep too; a worn sweep often leaves a visible gap along the threshold.
- Inspect windows for failed seals and loose weatherstripping. Run your hand around the sash and frame, then use a flashlight from the inside at dusk. If you can see daylight at the edge or feel a clear draft, the weatherstripping needs attention. Don’t forget the lock side of the window, where compression often gets uneven.
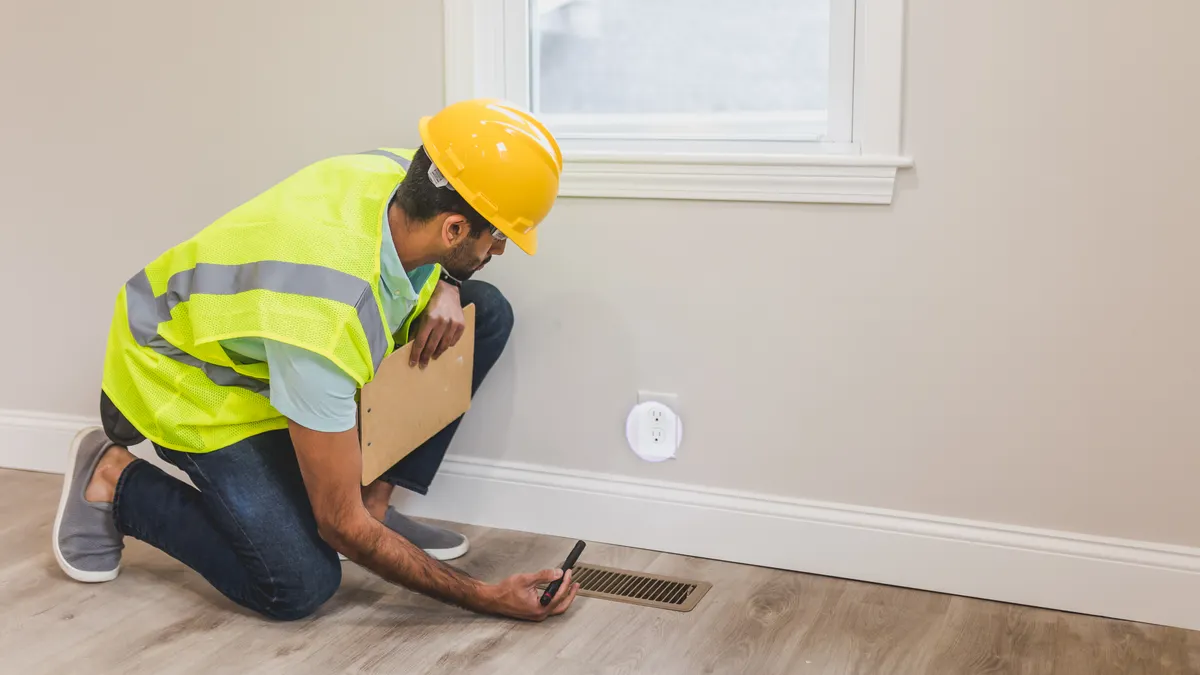
- Check outlet cover plates on outside-facing walls. Remove one cover at a time and feel for cold air around the box. If the outlet sits on a chilly wall and the cover plate is loose or warped, that is a common leak path. Foam gaskets can help, but only after you confirm the box is safely wired and not crowded with damaged insulation.
- Search for insulation gaps in the attic. Look for thin patches, bare joists, compressed batts, or insulation pulled away from eaves. You want a continuous layer across the floor, not scattered islands. If you can clearly see ceiling joists in large sections, the depth is often too low for a good thermal barrier.
- Look at ductwork, vents, and penetrations. Check for disconnected ducts, torn tape, or seams that have opened at elbows and boots. A flashlight aimed along the duct run should show whether joints are sealed, not just wrapped in aging tape. Also inspect plumbing vents, bath fan housings, and can lights for open gaps into the attic.
- Review the HVAC system setting and condition. Confirm the thermostat schedule matches actual use, then check filter condition, supply registers, and return grilles. A dirty filter or blocked return can make the system run longer than it should. You are not diagnosing the whole system here; you are looking for obvious restrictions, leaks, or settings that cost comfort and runtime.
- Check the water heater settings and surrounding space. Read the temperature setting on the tank or control and look for hot pipes, missing insulation, or a leaking TPR valve discharge pipe. The system should not show rust streaks, moisture, or constant warmth around the tank base. If it does, that is a repair flag, not a comfort tweak.
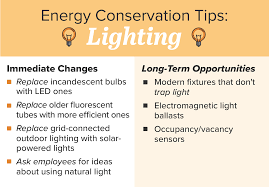
- Audit lighting room by room. Count fixtures with incandescent or halogen bulbs and note where lights stay on in empty rooms. LED replacements usually make the biggest difference where lights are used for long periods, such as kitchens, halls, and porches. A room that needs three bulbs to do the work of one is a good place to start.
By the end of this pass, you should have a short list: obvious air leaks, insulation misses, control settings to change, and equipment issues to hand off. If you have only one or two small notes, that is still useful; it means the house is not bleeding obvious losses at the places you checked. From there, the next step is sorting which issues are visible, cheap, and safe enough to fix yourself.
Where air leaks hide in a real house
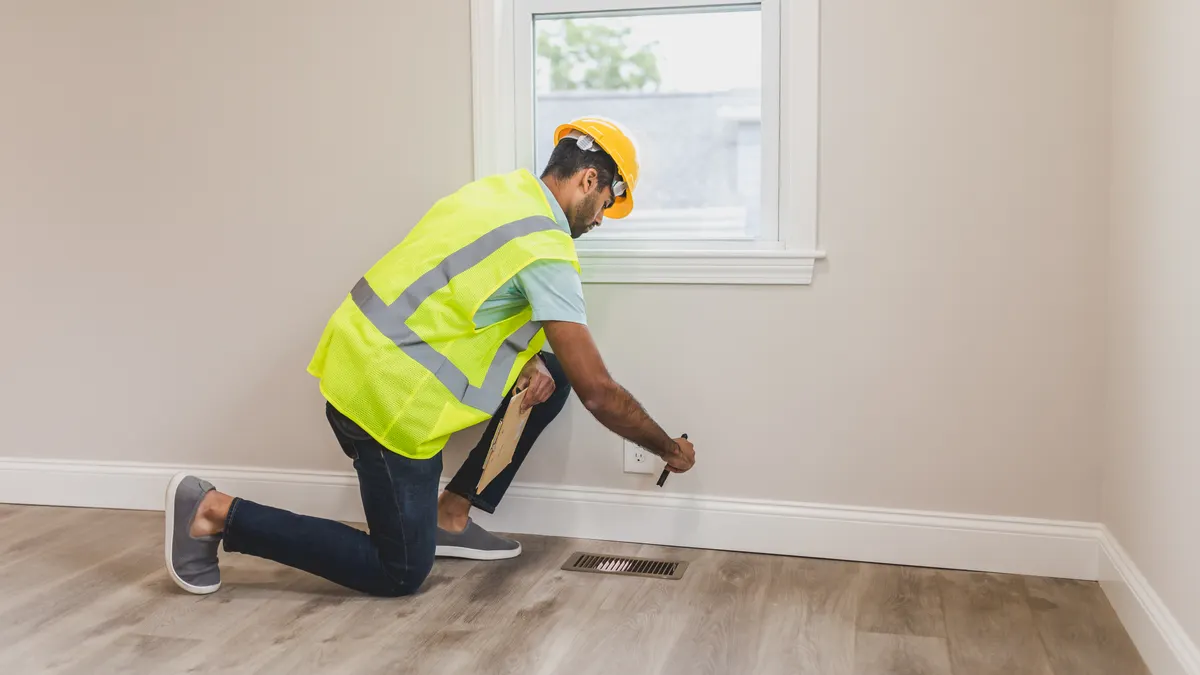
Air leaks usually hide where one material meets another, not in the middle of a wall. The most common spots are door frames, window trim, attic hatches, plumbing and wire penetrations, recessed light housings, and the rim joist area in basements or crawl spaces. A flashlight, a sticky note, and a calm room will show more than trying to feel every wall with your hand.
One easy mistake is chasing every tiny draft you feel near a window and ignoring bigger leaks at the attic hatch or top-floor ceiling penetrations. That costs time because a small draft at the sill may bother you more than it affects the bill, while a large opening to the attic can move far more air. Fix the large, obvious gaps first with weatherstripping, caulk, or a proper seal at access panels.
Another mistake is confusing ventilation openings with leaks. Bath fans, kitchen hoods, dryer vents, and combustion air openings serve a purpose; they are not all meant to be sealed shut. What you want is controlled movement, not random leakage. If you see a grille or vent that looks intentional, leave it alone unless you know exactly what it serves.
A simple way to prioritize is to rank each leak by size and location. A gap around an attic hatch, a missing door sweep, or an open penetration near the ceiling is usually worth more attention than a hairline crack in trim. Keep a one-page list with three columns: “location,” “visible issue,” and “fix type.” That format keeps the next repair trip efficient, and it helps you compare the same kind of leak from room to room.
How to read insulation, HVAC, and water heater clues
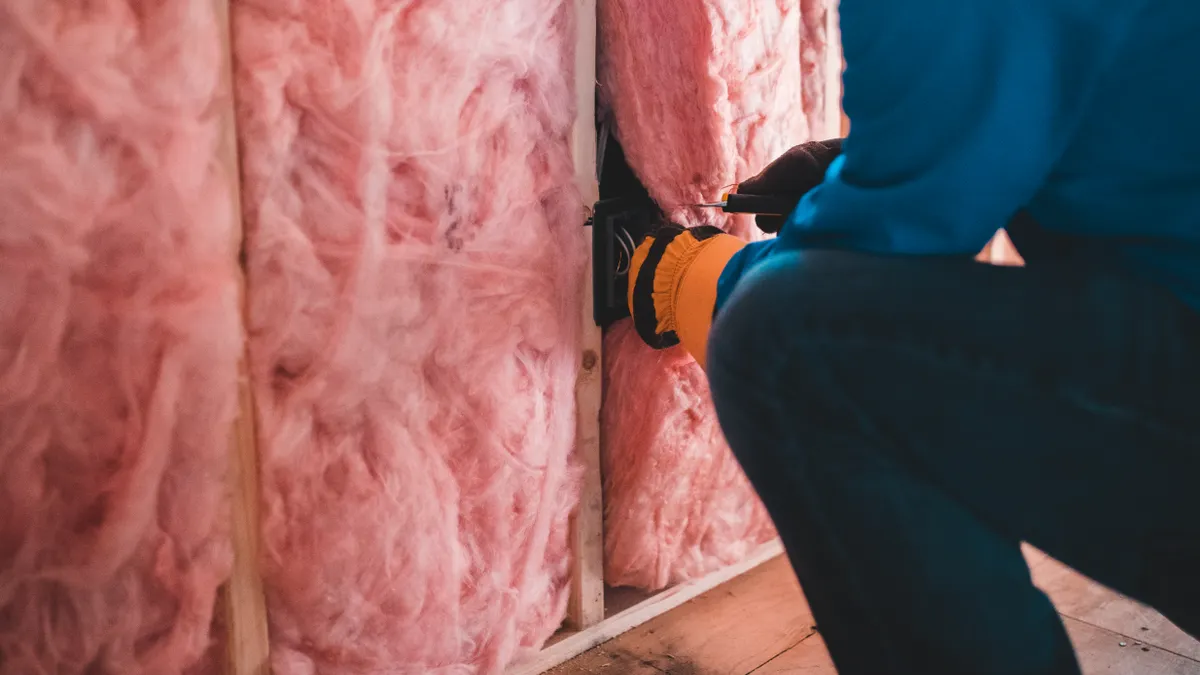
Insulation problems show up as thin coverage, exposed framing, uneven batts, and cold or hot surfaces that do not match the rest of the house. In the attic, the goal is continuity. A few inches of settled insulation are not the same as a uniform layer across the full floor. If the attic floor looks patchy, the house is telling you the shell is uneven.
On the HVAC side, the point of a self-audit is not to rebuild the system. It is to catch the signs that are obvious from the room: dirty filters, blocked supply registers, returns hidden by furniture, torn duct seams, or a thermostat schedule that keeps heating or cooling empty rooms. A system with easy airflow and sane settings usually shows less noise, fewer hot-and-cold swings, and less obvious short-cycling.
Water heater clues are usually visual and simple. A tank that is sweating, rusty, or fitted with obviously missing pipe insulation deserves attention. The water heater settings matter because overheating wastes fuel and can make taps feel too hot for everyday use. If the temperature control is set far higher than household needs, that is a good candidate for adjustment, but any change should stay within the unit’s instructions and local safety rules.
The mistake here is treating every warm spot as a catastrophe. Some warmth is normal around running equipment. What matters is pattern: constant heat at the tank base, strong air movement through ducts where there should be none, or insulation that is clearly absent in large sections. Those are the conditions that justify calling a professional or planning repairs.
Lighting, outlets, and the little losses people miss
Lighting is the easiest place to get a quick win because the evidence is plain. Walk each room and note where bulbs are still incandescent or halogen, where fixtures are overlit, and where lights stay on in low-use spaces. A closet light left on for hours is a tiny leak by itself; several of those across a house add up to needless runtime. A room with three bulbs doing the work of one is a practical place to start.
Outlet cover plates deserve attention on exterior walls because they are easy to forget and easy to inspect. If a cover plate is loose, cracked, or cold to the touch, replace it or add a gasket where appropriate. The outlet itself should not be a draft source, and a well-fitted cover plate should sit flat against the wall. If the box is damaged or the wiring looks questionable, stop there and call an electrician rather than forcing a fix.
Do not ignore the attic hatch, basement door, or crawl-space access panel. These spots are often worse than a wall outlet because they are large openings with thin or missing seals. A hatch that rattles or drops cold air can undo a lot of smaller improvements. A simple strip of weatherstripping around the frame and a latch that pulls the panel tight often help more than people expect. For that reason, these panels belong near the top of your checklist, not the bottom.
The trade-off is that small fixes can make you feel productive without changing much if the big leaks are still open. That is why the checklist starts with the shell. Replace a few bulbs, sure, but do not spend an afternoon on decorative fixes while the attic door is still leaking air. The same logic applies to every room: handle the visible loss first, then move to the smaller one.
What to fix first after your checklist
Fix the biggest, cheapest, clearest problems first. That usually means a missing door sweep, damaged weatherstripping, obvious attic gaps, or a loose access panel before anything cosmetic. The best first repair is the one you can see, understand, and complete without opening a wall.
Use this priority order: safety issues, major air leaks, insulation gaps, then comfort upgrades. Safety issues include a leaking water heater discharge, exposed wiring, or signs of moisture around equipment. Major air leaks are the ones with visible daylight, strong drafts, or a clear opening into unconditioned space. Insulation gaps matter next because they affect the whole room, not just one draft point.
Do not start with expensive replacements unless the old part is clearly failing. A new thermostat or a full lighting refresh may be useful, but neither should come before a missing door sweep or a gaping attic hatch seal. That is the main limitation of any DIY audit: it finds obvious losses well, but it cannot tell you the full performance of hidden systems. For that, the hub page on home energy audit is the right next stop, and a professional audit can confirm what the checklist only suggests. If the house still feels uneven after the visible fixes, the next step is professional diagnosis rather than more guesswork.
If the house has persistent comfort problems after the obvious fixes, that is the signal to hand the job off. A DIY inspection is a filter, not a verdict. It tells you where the easy losses are and where the deeper problem likely lives.
What a DIY audit misses, and when to stop there
A DIY home energy audit does not measure air leakage with a blower door, balance duct flow, or verify how the whole house performs under pressure. It is a practical screen for visible problems, not a laboratory test. That is the right tool for a homeowner who wants to catch the obvious issues before spending money on a pro.
The biggest miss is hidden leakage. Walls, rim joists, and ceiling cavities can leak without leaving clear visual clues, and no flashlight will expose every path. Another miss is system interaction: a furnace, heat pump, or water heater can look normal at the surface while still running inefficiently because of sizing, duct design, or controls. A checklist cannot fully diagnose that, so a professional home energy audit is the better choice when symptoms persist.
This method is also not for someone who wants exact performance numbers or a complete retrofit plan. If you need a measured diagnostic, a professional audit is the better fit. The DIY version is ideal when you want a weekend job, a repair list, and a clearer sense of whether your house has obvious shell or equipment problems. According to the U.S. Department of Energy, homeowners can often save 5% to 30% on energy costs with efficiency improvements, which is why even a basic checklist can matter. U.S. (Source: Department of Energy)
The honest upside is speed. In about 2 to 3 hours, a careful walk-through can surface the flaws you are most likely to fix yourself: a bad seal, a thin attic patch, a dirty filter, a poor thermostat setting, or a lighting habit that wastes electricity. That is enough to make your next decision smarter without pretending the house has been fully analyzed. For broader context on home energy use, the U.S. Energy Information Administration notes that the average U.S. household spent $2,060 on energy in 2020. U.S. (Source: Energy Information Administration)
What should i check in a diy energy audit?
Check the exterior shell first, then the attic, windows, doors, outlets on outside walls, HVAC filters and ducts, the water heater setting, and the lighting in low-use rooms. The best clues are visible ones: daylight around frames, thin insulation, loose weatherstripping, dirty filters, and equipment that shows leaks or obvious wear. A quick walk-through can usually surface those clues in 2 to 3 hours.
Can i do a home energy audit myself?
Yes, you can do a useful first pass yourself. A homeowner can find many of the most obvious problems with a flashlight, a few hours, and a careful walk-through. What you cannot do is measure hidden losses as precisely as a professional audit, so this works best as a screening tool before deeper diagnosis. If you want a benchmark for what a deeper review can uncover, the U.S. Department of Energy recommends whole-house efficiency improvements as the path to larger savings.
What are the easiest energy leaks to find?
The easiest leaks to find are missing door sweeps, worn weatherstripping, open attic hatches, daylight around exterior frames, and obvious gaps at pipe or wire penetrations. These spots usually show direct clues such as drafts, visible openings, or loose trim, which makes them faster to spot than hidden wall or duct leaks. They also tend to be the first places a DIY home energy audit checklist should cover because they are visible, accessible, and often fixable in one visit.
Drafted with AI; not yet reviewed by a person.


Leave a Reply