
Last updated: October 29, 2026
Quick Answer: In most homes, a smart thermostat setup takes 20 to 60 minutes, and the first schedule should be simple enough to adjust after 3 or 4 days. Compatibility comes first, the old wires should be labeled before removal, and the thermostat only saves energy when it is wired correctly, joined to wi-fi, and matched to the hvac system already in the house.
A smart thermostat is not hard to install, but it is easy to get wrong in ways that cost comfort, runtime, or both. The common failure points are not glamorous: a missing c-wire, a mislabeled low-voltage wire, a heat pump set up like a furnace, or a schedule that fights real life. This guide walks through the whole setup in one pass, from compatibility check to energy-saving settings, so the thermostat works with the equipment instead of against it. For a broader context on home energy improvements, the page can sit next to that hub without repeating it. For background on thermostat installation and safe setup, see the ENERGY STAR thermostat guidance. If you need wiring terms, the U.S. Department of Energy’s thermostat overview is a useful reference.
Check compatibility before you touch the old thermostat
Compatibility is the first job, because the wrong thermostat can power up and still behave badly with your hvac system. Start by identifying the equipment type, the wiring at the wall, and whether the thermostat needs a c-wire for constant power. Most smart thermostat boxes and setup tools ask for the same three things: system type, wire count, and voltage.
First, confirm whether the hvac system is conventional forced air, heat pump, boiler, or another setup. A forced-air furnace with central air usually uses low-voltage control wiring. A heat pump often uses different terminal labels, such as O/B for reversing valve control, and that changes the setup path. A boiler or older high-voltage baseboard system may need a thermostat that is specifically rated for that voltage; many smart thermostats are not. For the most current product limits, check the thermostat manual and the equipment documentation before buying. Learn more about heat pumps.
Next, look for a c-wire, also called the common wire. The c-wire is what gives many smart thermostats a steady 24V power supply from the hvac transformer. If the old thermostat has only two or three wires, there may not be a c-wire at the wall. Some smart thermostats can run without one by using a power-sharing design or an add-on adapter, but the installation gets less forgiving. A thermostat that keeps losing power is usually not a Wi-fi problem first; it is often a power problem.
Do not assume that wire colors tell the truth. White is not always heat, and green is not always fan. Terminal labels matter more than color. A photo of the existing terminals before anything is disconnected is often the most useful record, but it is not a guarantee by itself. If the current thermostat uses a jumper wire between R and Rc, keep that detail in mind, since some replacement models handle single-transformer and dual-transformer systems differently. For a simple wiring reference, the Honeywell Home thermostat wiring guide is helpful.
If the manufacturer offers an online compatibility checker, use it before unmounting the base. That step takes 5 to 10 minutes and can prevent a return later. If the thermostat is meant for a hydronic boiler or line-voltage heat and the product page only describes 24V low-voltage systems, stop there.
How do I label the wires before removing the old thermostat?
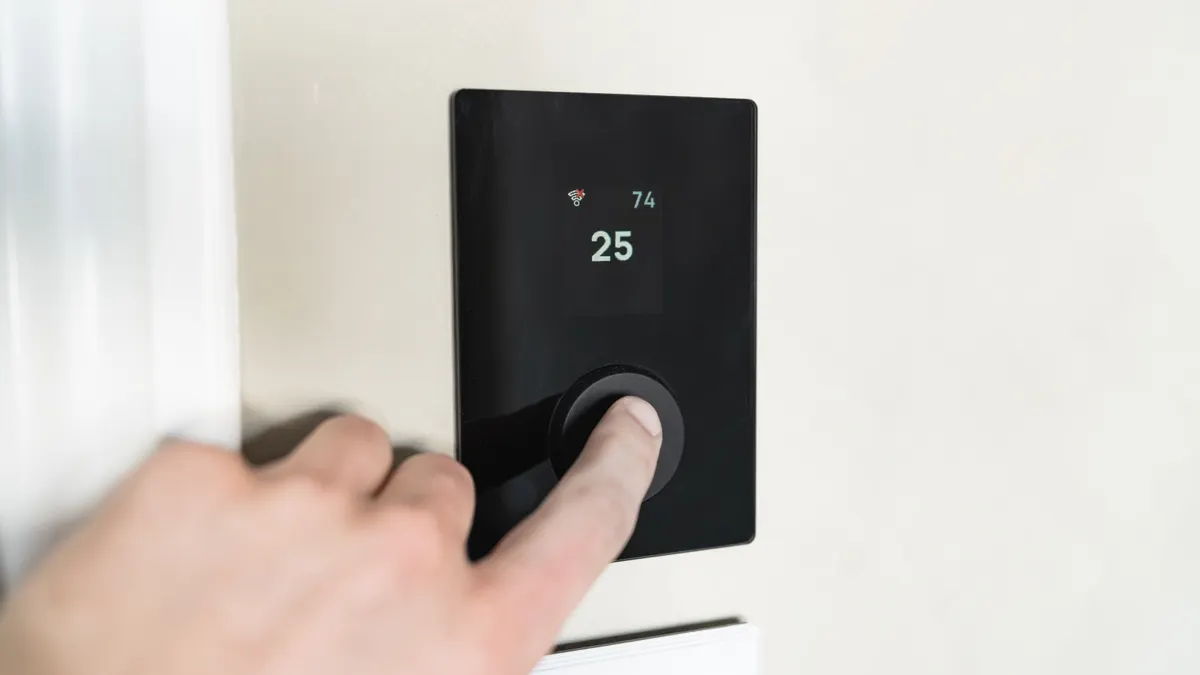
Wire labeling means every conductor keeps its identity when the old thermostat comes off the wall. The labels are the difference between a 20-minute install and an afternoon of guessing.
Turn off power to the hvac system at the breaker, then remove the thermostat cover and take a clear photo of the terminal strip. Put a small piece of masking tape on each wire and mark the terminal letter exactly as it appears: R, Rc, Rh, W, Y, G, C, O/B, Aux, or E. If a terminal has two wires under one screw, record that detail too. A photo and labels together are better than either one alone.
Now remove the thermostat body from its base or unscrew the terminal plate, depending on the model. Keep the wires from slipping back into the wall by wrapping them around a pencil or using the mounting plate as a temporary stop. That small step saves time if the wall opening is deep.
Use the old labels, not memory, when moving wires to the new base. The most common mistake is treating similar-looking terminals as interchangeable, so consult a professional if the labels do not match the manual or if the wiring is unusual. R is power, C is common, W is heat call, Y is cooling call, and G is fan. Heat pumps add more complexity, and the wrong O/B placement can flip heating and cooling behavior.
If the wall has more wires than the new thermostat needs, do not cut the extras short. Fold them neatly into the wall cavity. A future service call goes much faster when the original conductors are still available. If a wire is corroded, broken, or too short to reach the new base, that is the point to slow down rather than force it.
A good label set takes about 10 minutes and can prevent the most irritating setup error: a thermostat that powers on but controls the wrong stage, the wrong mode, or no mode at all.
Install the base and connect the wires
The new base should sit level, screw down firmly, and hold each wire in the right terminal without stray copper showing. This part is mechanical, but it matters as much as the app setup.
Hold the mounting plate to the wall and mark the screw holes. If the old wall plate leaves paint gaps, use the supplied trim plate if the manufacturer includes one. Then feed the wires through the center opening and fasten the base with the included screws. If the wall anchors are loose, move to a slightly larger anchor rather than letting the thermostat hang crooked.
Strip only the amount of wire needed, usually a short exposed section that fits under the terminal clamp. Do not leave bare copper sticking out, and do not strip so much that copper is visible outside the terminal. Insert each wire into the matching labeled terminal and tighten the clamp firmly. Tug each wire lightly. It should stay put.
For a c-wire, make sure it lands in the C terminal on the thermostat side and also connects to the correct common terminal or adapter point at the hvac control board if the system requires one. This is where many “works on the wall, fails at the furnace” problems start. If the thermostat needs an adapter to create common power and the kit includes one, the adapter must be installed at the equipment, not only at the wall.
If the system uses multiple stages, such as W1 and W2 or Y1 and Y2, copy the labels exactly. Do not merge stages unless the installation instructions say to. A two-stage system wired as single-stage may heat or cool, but it can cycle less intelligently.
Before snapping the display onto the base, pause and inspect the wiring one more time. The base should be flat, the wires should be seated, and no terminal should have a loose strand bridging to the next one. That extra minute can help prevent a blown fuse in the control board, though a licensed HVAC technician should handle any unclear wiring or repeated fuse problems.
Connect the smart thermostat to wi-fi and the app
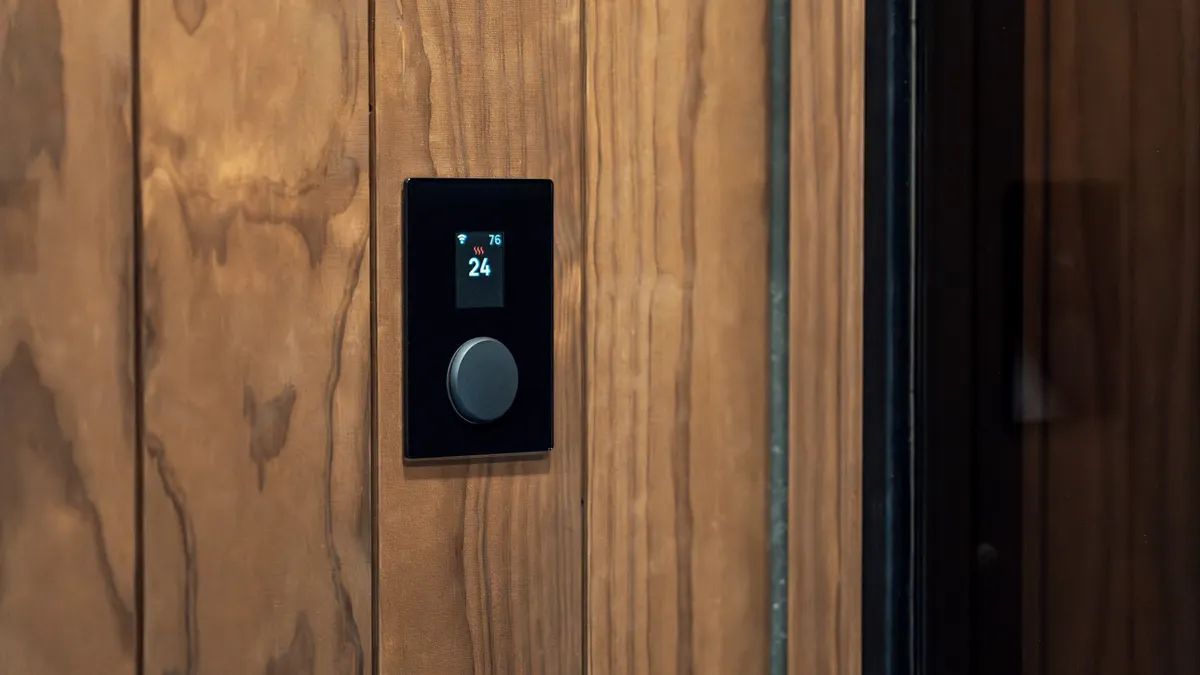
Wi-fi setup is the part most people expect to be hard, but it is usually straightforward if the thermostat has clean power and the phone is nearby. The thermostat should join a 2.4 GHz or dual-band home network, depending on the model.
Power the thermostat back on and follow the on-screen prompts. Most models ask for language, region, time zone, and internet connection first. Have the home wi-fi name and password ready before starting. If the thermostat is mounted where the signal is weak, such as inside a metal utility room or far from the router, the setup may stall at the network step.
Some thermostats create their own temporary setup network through the app. Others ask the phone to scan a QR code or enter a pairing code. If the app says the device is offline, check two things before retrying: the wi-fi band and the router password. Many smart thermostats work more reliably on 2.4 GHz than on 5 GHz, especially through walls and floors.
Once the thermostat is online, update firmware if the app requests it. This may take 5 to 15 minutes. Do not skip it if the app flags a current version, since firmware often fixes sensor, relay, or scheduling bugs. After the update, rename the device clearly, such as “Hall Thermostat,” so it is easy to find if the home has more than one.
Link the thermostat to the manufacturer account, then enable remote control and notifications if desired. A notification for a filter reminder or temperature fault is useful; a flood of alerts is not. If the device offers occupancy or learning features, leave them off until the basic schedule is stable.
What is the best first schedule for a smart thermostat?
A useful schedule is simple, consistent, and easy to override without thinking about it for more than 30 seconds. The best first schedule is not the cleverest one; it is the one that matches the household’s regular wake, away, and sleep times.
Start with four blocks: wake, away, home, and sleep. Set a lower target during away periods in heating season and a higher target during away periods in cooling season. Keep the change modest at first so the house does not spend half the day chasing temperature swings. If the thermostat supports a “hold,” “eco,” or “away” mode, learn the difference before relying on it. One mode may lock the setpoint until manual change; another may resume the normal schedule automatically.
A good first pass is a single weekday schedule with one weekend adjustment, not a different entry for every day. That keeps the system predictable and reveals where real life differs from the plan. After 3 or 4 days, adjust the schedule based on comfort, not theory. If the bedroom is too warm at night or the kitchen gets cold too early in the morning, move the schedule rather than cranking the setpoint.
Use geofencing only if the household leaves and returns in a fairly regular pattern. If people come and go at odd hours, a phone-based away mode can create more trouble than it solves. Motion sensors can also misread a quiet home office as empty, so test those features before trusting them.
This is the point where the thermostat starts earning its keep. A clean schedule reduces unnecessary runtime without requiring anyone to micromanage the app all day.
Use energy-saving modes the right way
Energy-saving modes help most when they support the schedule instead of replacing it. The thermostat should be set to reduce runtime during predictable absences, not constantly chase the lowest possible number.
Look for three settings in particular: eco mode, adaptive recovery, and fan control. Eco mode usually shifts the temperature range to a more efficient band when the house is empty. Adaptive recovery lets the thermostat start early enough to reach the target by the scheduled time instead of waiting until the clock changes. Fan control can improve circulation, but continuous fan operation may add wear and use more electricity than a short circulation cycle.
If the thermostat offers humidity control, use it carefully. In cooling season, a higher indoor humidity can make a room feel warmer than the number on the display. In heating season, dry air can make a room feel cooler. Some thermostats let the fan run after a cooling cycle to wring more moisture from the air; that may improve comfort, but it can also feel drafty if overused.
Do not stack every energy feature at once. Turning on eco mode, aggressive setback, geofencing, and learning mode on day one makes it hard to tell which setting is causing discomfort.
Start with schedule, then add one feature at a time.
The honest trade-off is this: a thermostat that saves energy more aggressively may also create more noticeable temperature swings. That is fine for a weekend cabin. It is less fine for a nursery, a home office with temperature-sensitive equipment, or a house with older occupants who want steadier comfort. In those cases, smaller setbacks and a plain schedule are usually the better choice.
Fix the setup problems that usually show up on day one
Most setup problems are wiring, power, or system-type mismatches, and they usually show up within the first 24 hours. That timing is useful, because it narrows the cause.
If the thermostat powers off or reboots repeatedly, suspect missing common power or a weak battery backup. If it says heat or cool is on but nothing happens at the vents, check whether the hvac breaker is on and whether the furnace or air handler service switch is on. If heating works but cooling does not, the Y wire or the outdoor unit control path may be wrong. If cooling works but heating does not, the W circuit or heat-pump auxiliary setting may be off.
If the display shows an error about wiring, do not keep cycling the system blindly. Recheck the terminals against the photo taken before removal. Many problems come from one wire landing under the wrong label or a tiny strand touching an adjacent terminal. A small bridge can trip a fuse on the control board.
If the thermostat reports “no power” after installation, and the system did not have a c-wire originally, the issue may be power harvesting rather than a dead device. Some models handle this better than others, but the fix is not always in software. It may require a proper common wire or the manufacturer’s adapter.
If the room temperature feels wrong after setup, confirm the thermostat is not mounted in a bad spot. A wall in direct sun, above a supply vent, or beside a kitchen appliance can bias readings. A relocation of even a few feet can matter.
The smart thermostat is set up correctly when it reads stable, joins wi-fi reliably, switches modes cleanly, and follows the schedule without surprise. If any one of those pieces fails, the fault is usually in compatibility, wiring, or configuration — not in the idea of a smart thermostat itself.
Key Takeaways
- Check the hvac system type first; the wrong thermostat can be the wrong fit even if it looks right on the wall.
- Label every wire before removal, and trust terminal letters over wire colors.
- A c-wire is often the difference between steady operation and repeated power issues.
- Keep the first schedule simple, then adjust after a few days of real use.
- Energy-saving features work best when they support a clear schedule instead of replacing it.
- If the thermostat acts oddly on day one, revisit wiring and compatibility before blaming wi-fi.
Will a smart thermostat work with my hvac system?
A smart thermostat will work with many common hvac systems, but not all of them. The key checks are system type, voltage, and whether a c-wire or adapter is needed. Heat pumps, boilers, multi-stage equipment, and line-voltage systems each have different requirements, so match the thermostat to the equipment labels before buying or installing it.
Drafted with AI; not yet reviewed by a person.


Leave a Reply